Tag: Visual edit |
Tag: Visual edit |
||
| Line 258: | Line 258: | ||
! Image !! Name !! Requirement !! Found in !! Reward |
! Image !! Name !! Requirement !! Found in !! Reward |
||
|- |
|- |
||
| − | | [[File: |
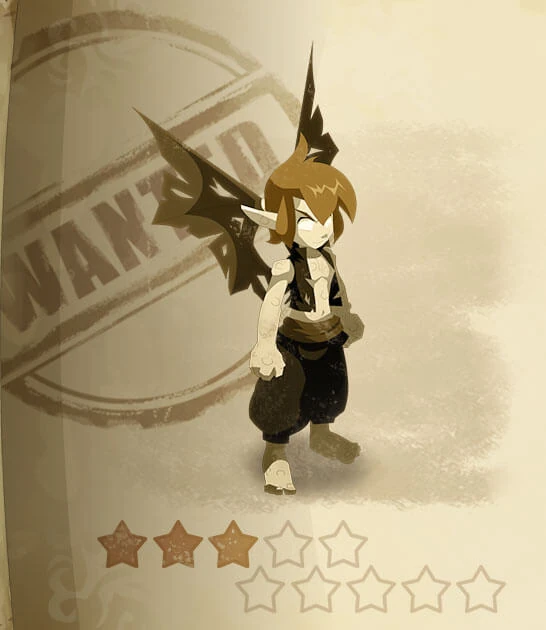
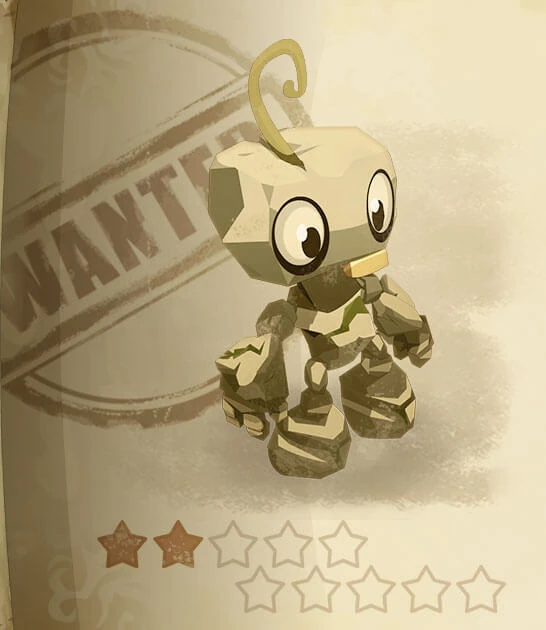
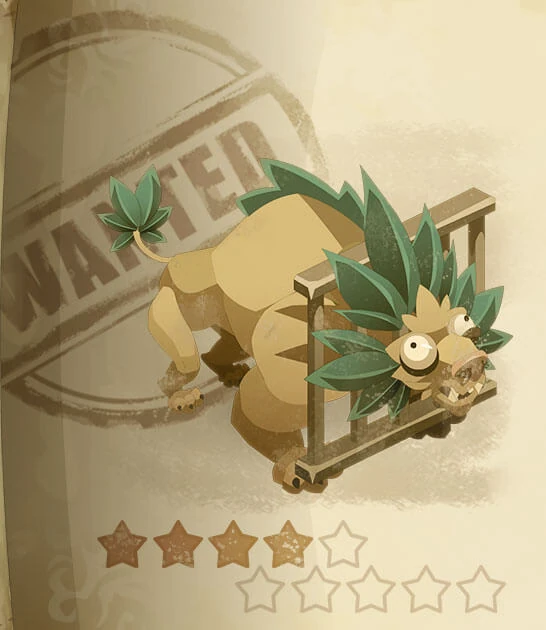
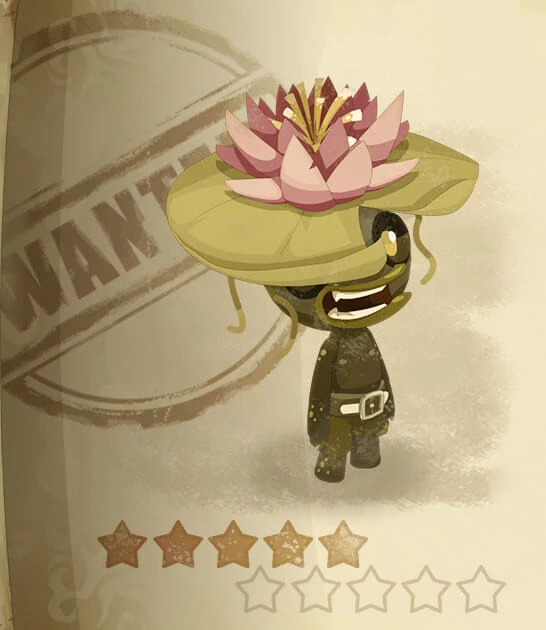
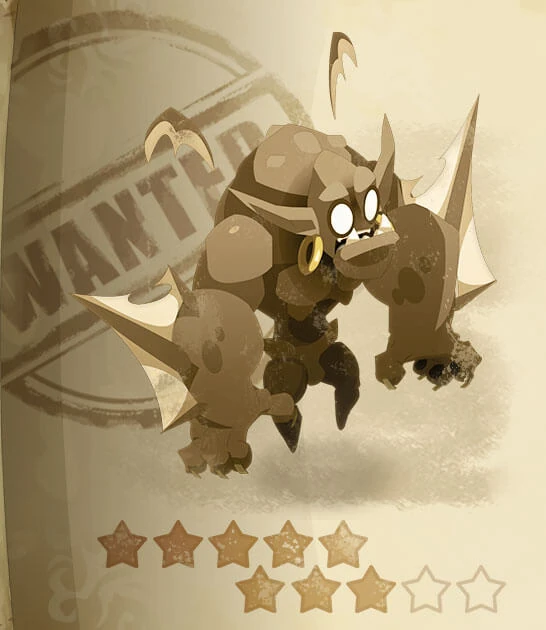
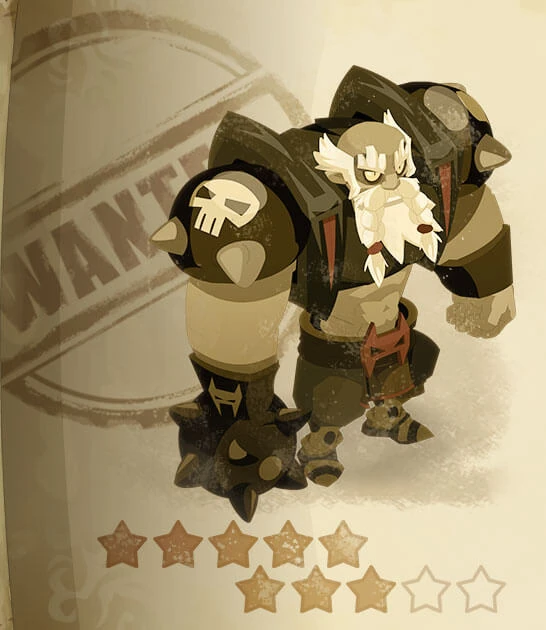
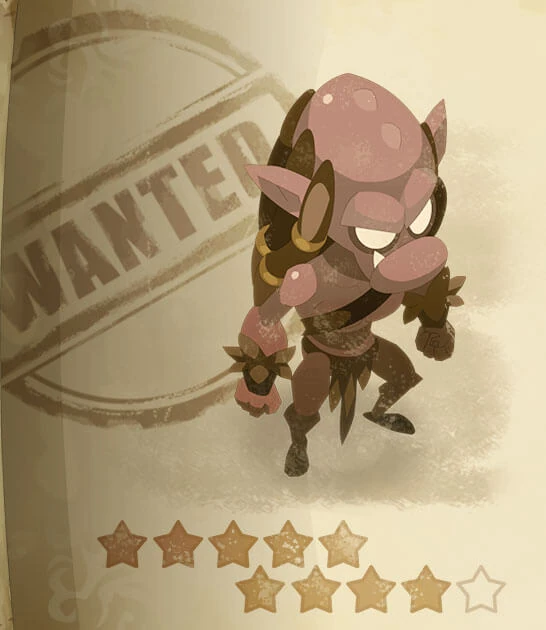
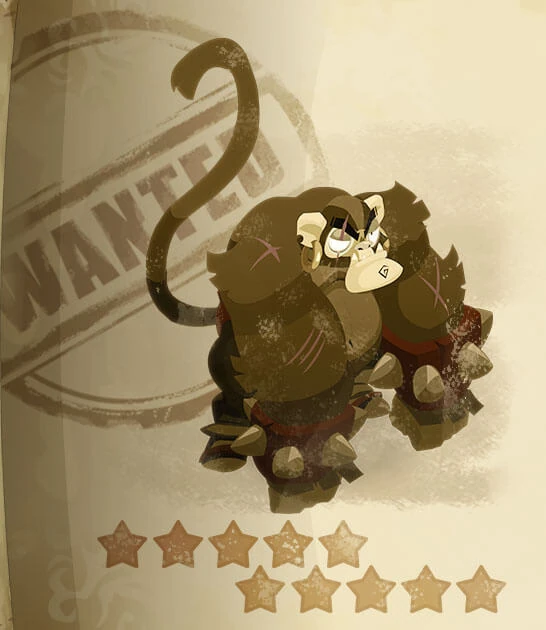
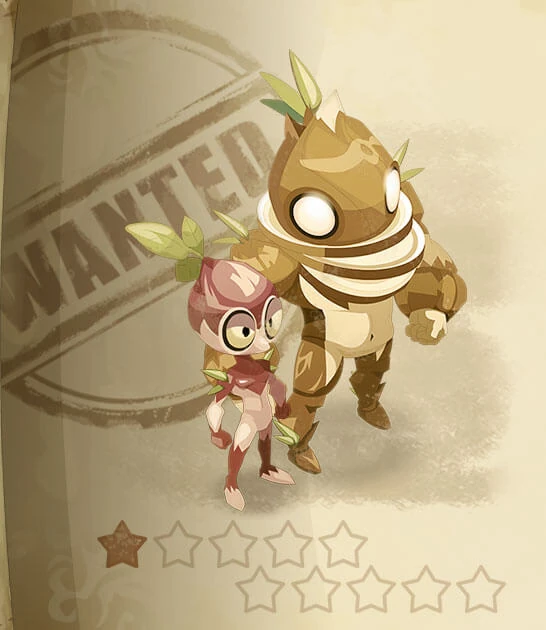
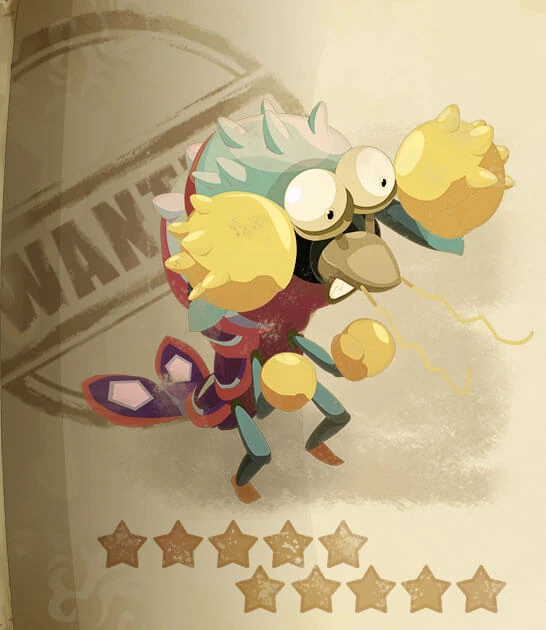
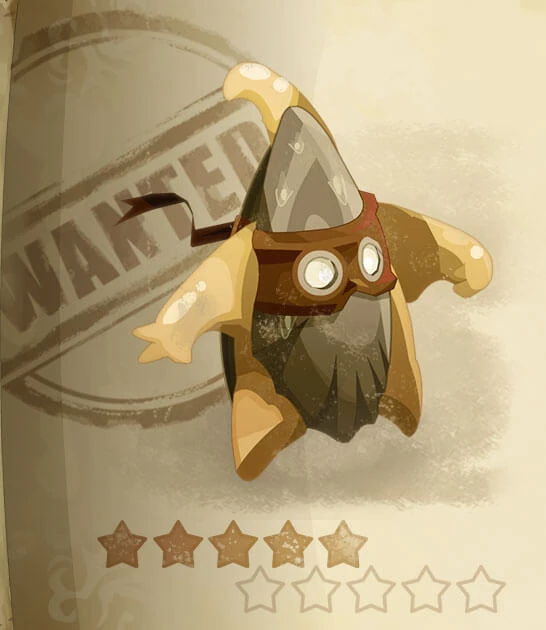
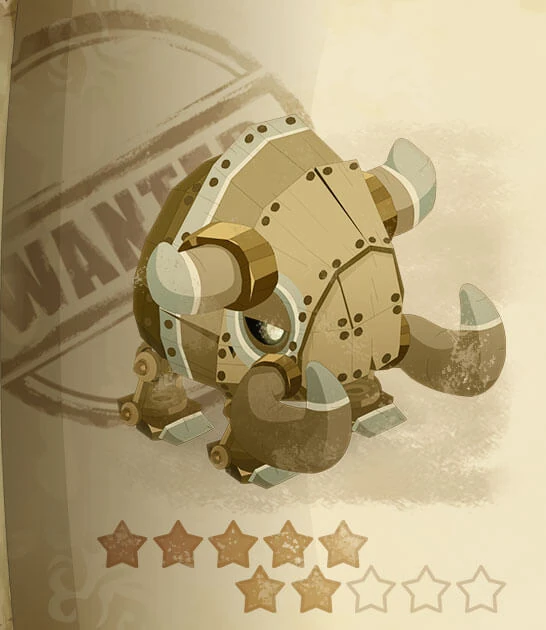
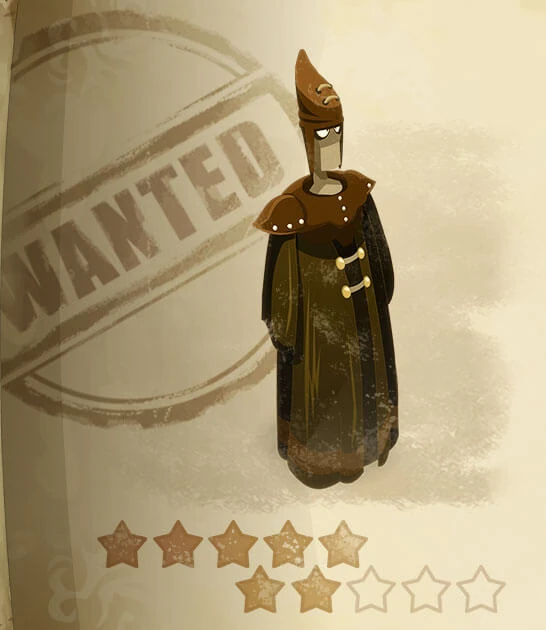
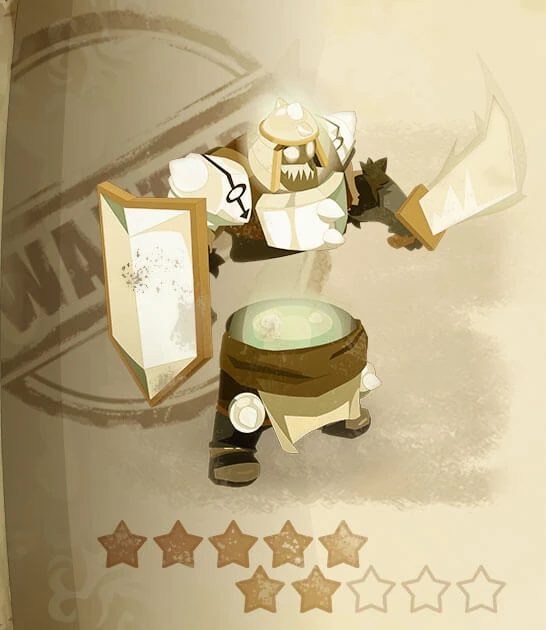
+ | | [[File:Sam_Wyz.png|60px]] || [[Sam Wyz|Wanted: Sam Wyz]] || [[Alignment|Get an alignment]] || [[Astrub Meadows]] || 2x [[Almoken]]s |
|- |
|- |
||
| − | | [[File: |
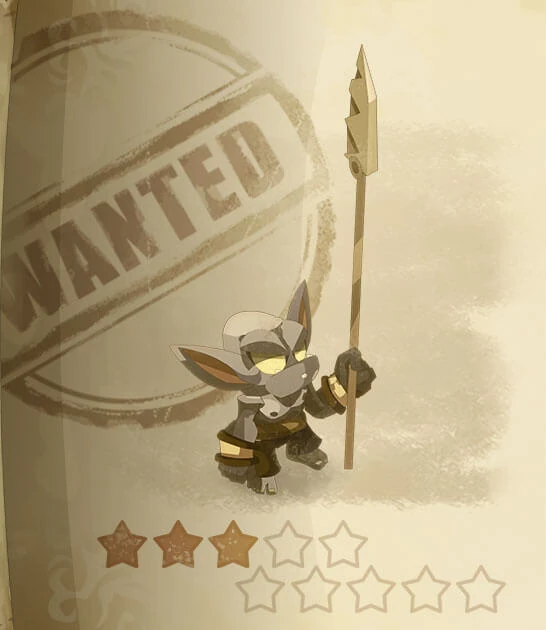
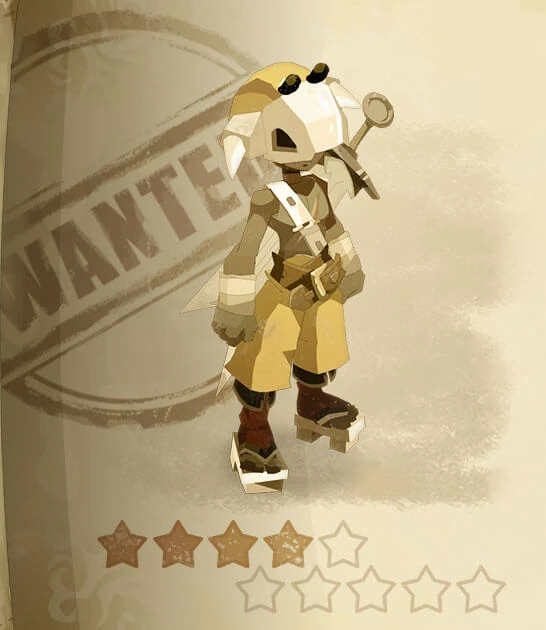
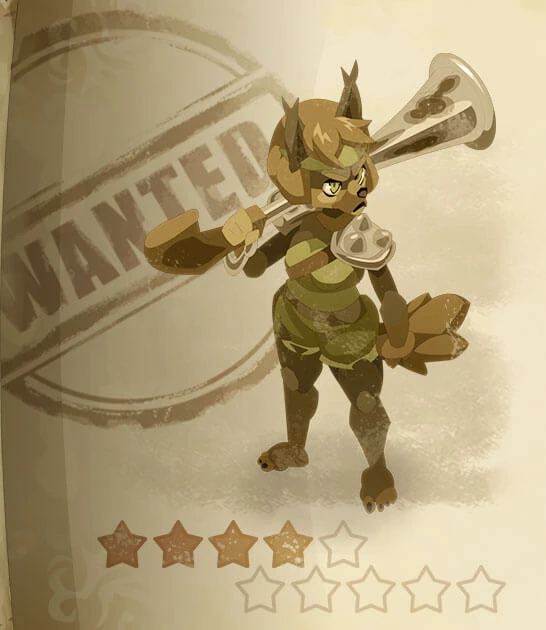
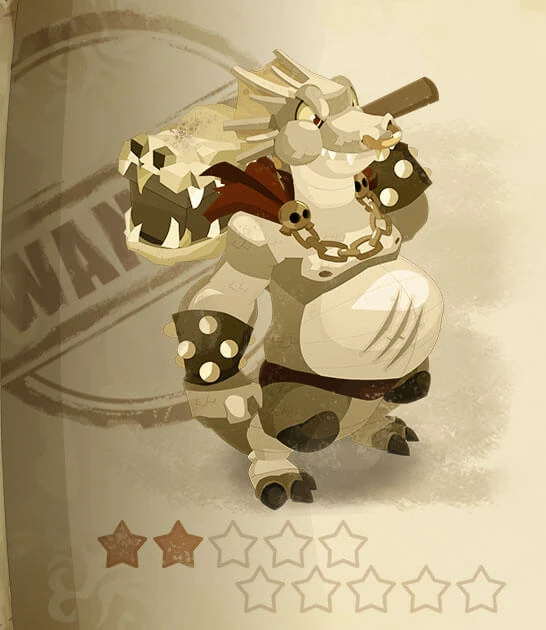
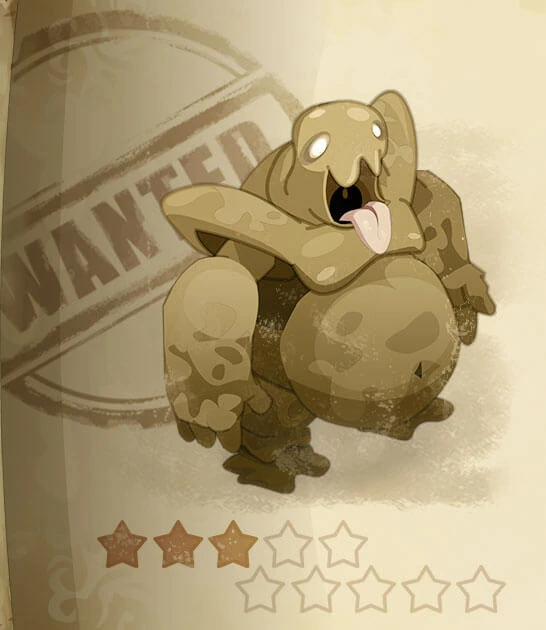
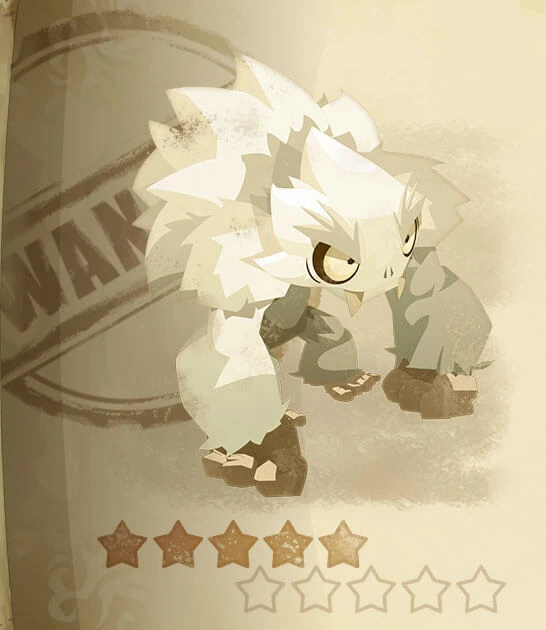
+ | | [[File:Bolete_Master.png|60px]] || [[Bolete Master|Wanted: Bolete Master]] || [[Alignment|Get an alignment]] || [[Brouce Boulgoure's Clearing]] || 4x [[Almoken]]s |
|- |
|- |
||
| − | | [[File: |
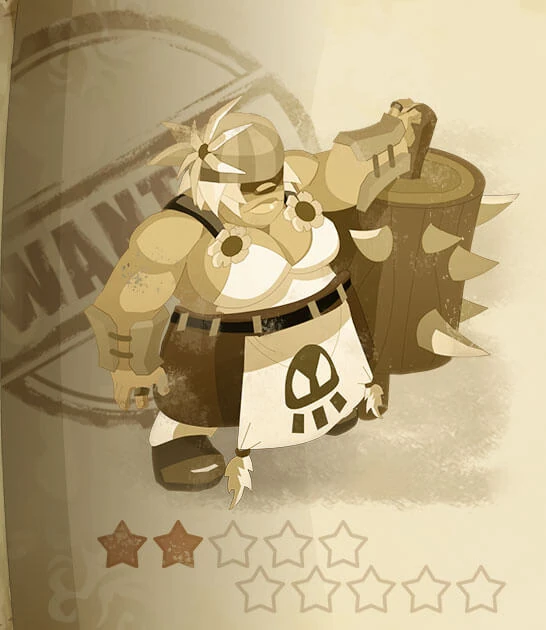
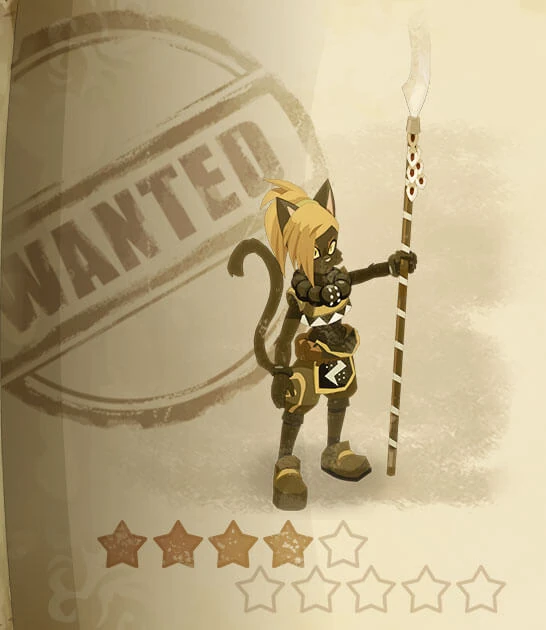
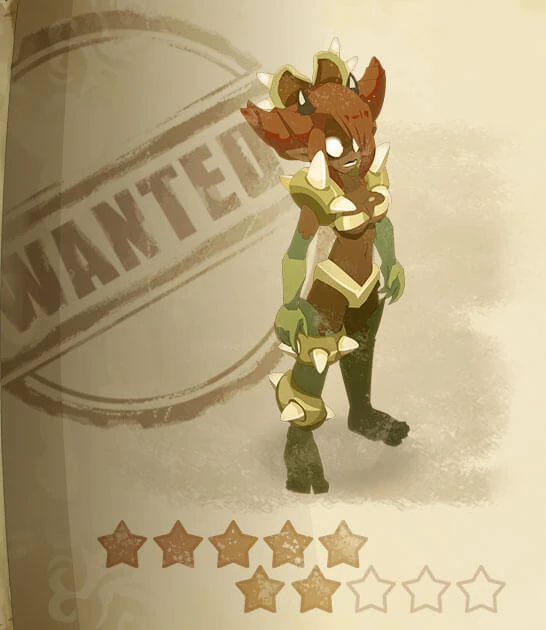
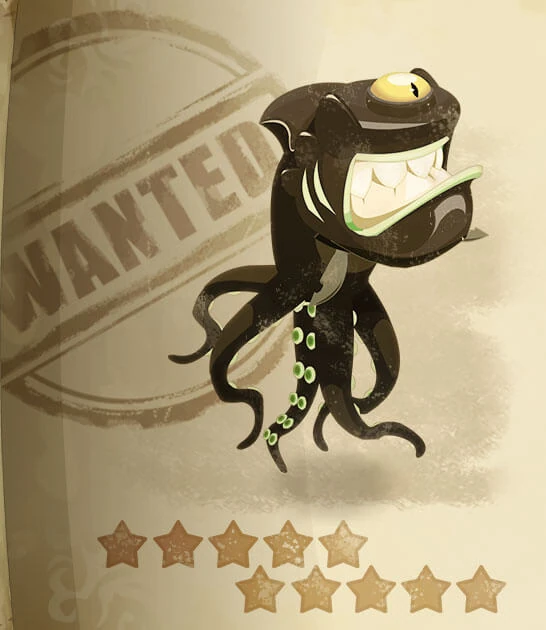
+ | | [[File:Craff_Tibballs.png|60px]] || [[Craff Tibballs|Wanted: Craff Tibballs]] || ? || [[The Cemetery|Amakna Cemetery]] || 4x [[Almoken]]s |
|- |
|- |
||
| − | | [[File: |
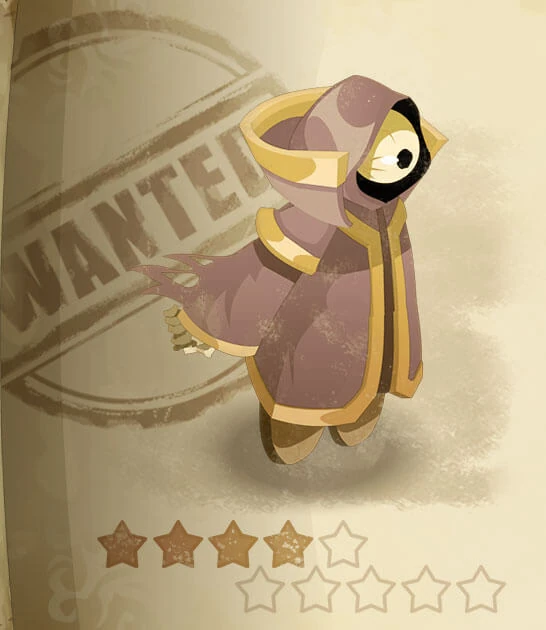
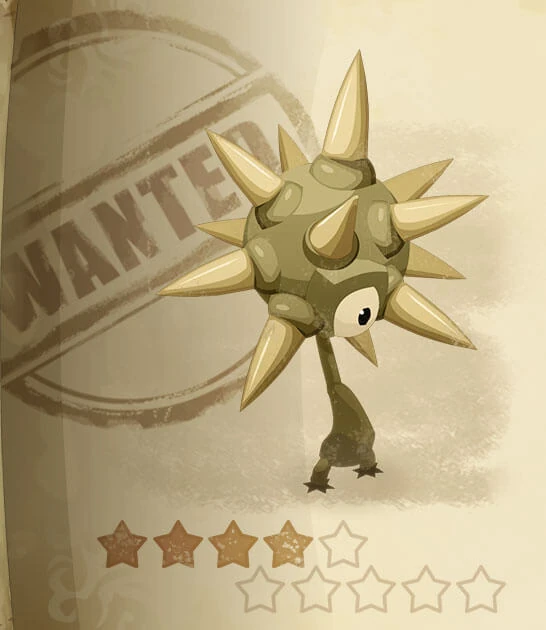
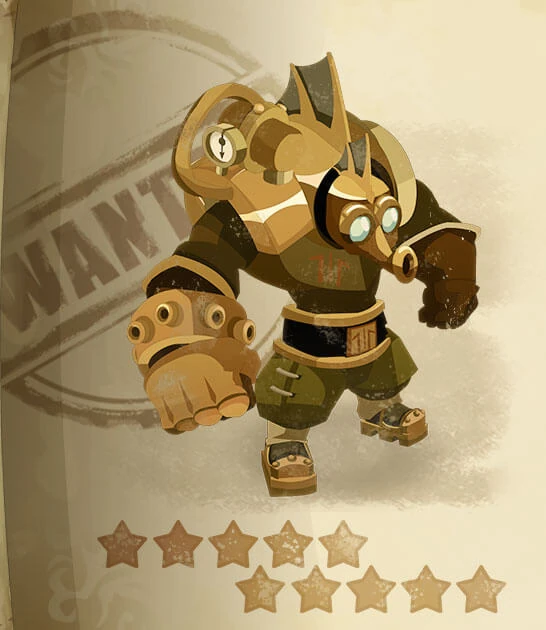
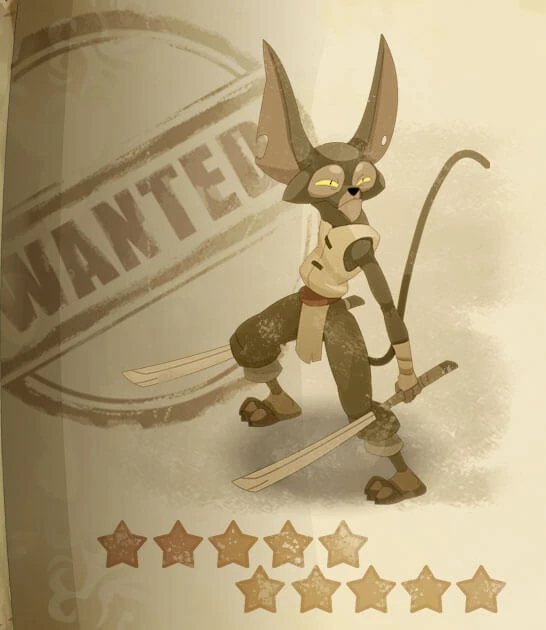
+ | | [[File:Boothe_Baybe.png|60px]] || [[Boothe Baybe|Wanted: Boothe Baybe]] || ? || [[Lousy Pig Plain]] || 5x [[Almoken]]s |
|- |
|- |
||
| − | | [[File: |
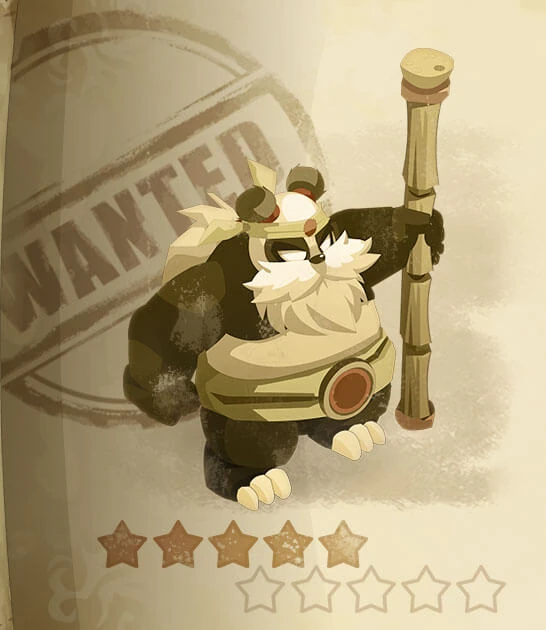
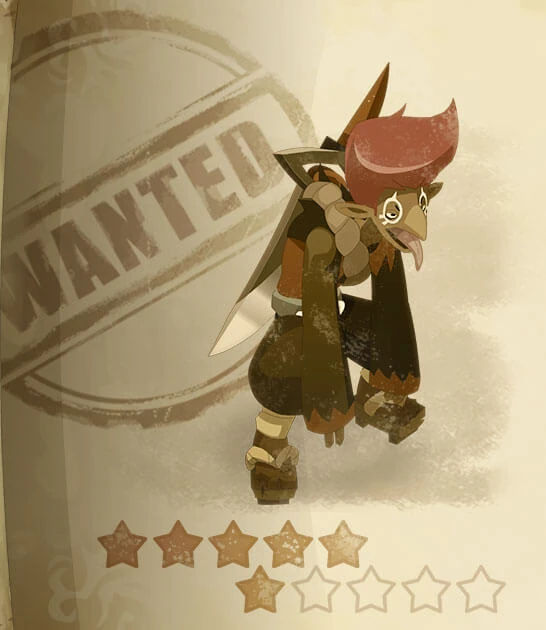
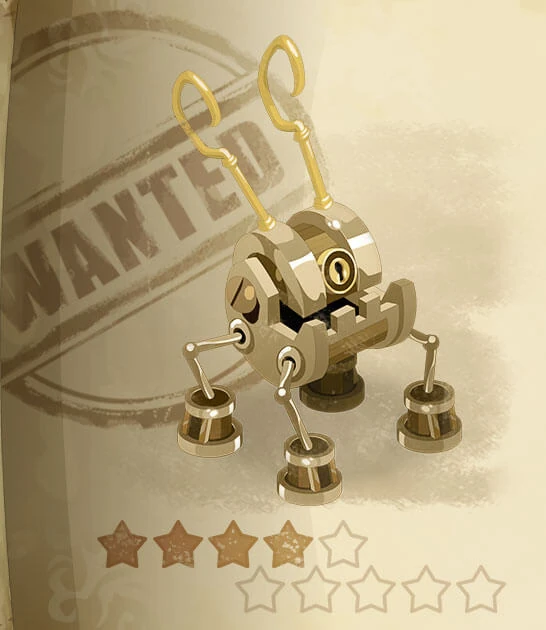
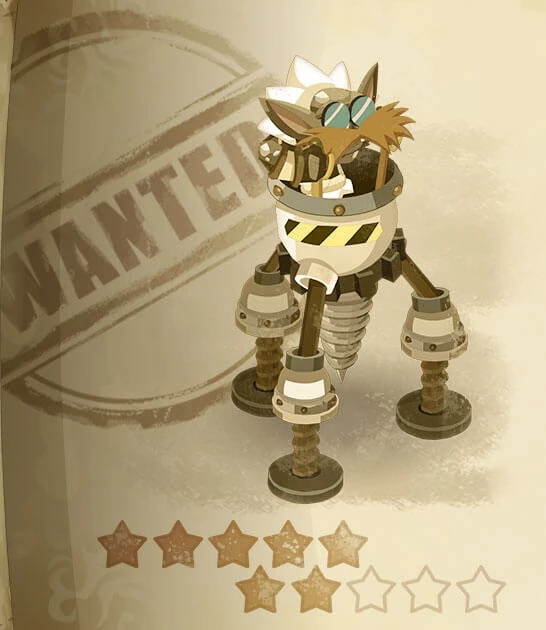
+ | | [[File:Nono_the_Wobot.png|60px]] || [[Nono the Wobot|Wanted: Nono the Wobot]] || [[Order|1st rank]] || [[Isle of the Crown|Isle of Cwown]] || 6x [[Almoken]]s |
|- |
|- |
||
| − | | [[File: |
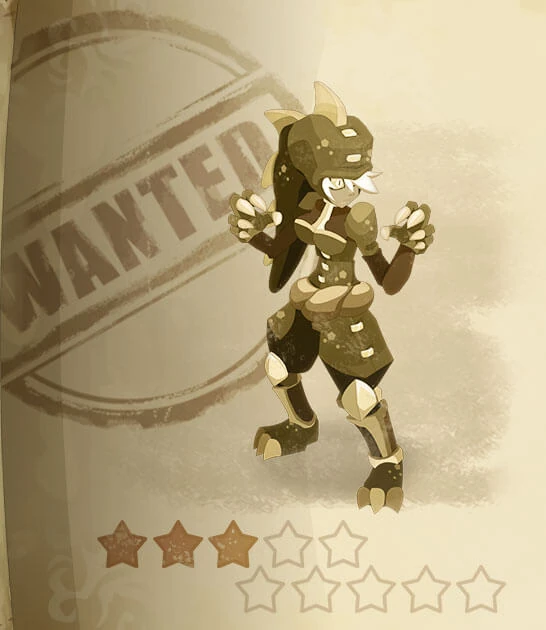
+ | | [[File:Armada_the_Invincible.png|60px]] || [[Armada the Invincible|Wanted: Armada the Invincible]] || [[Order|1st rank]] || [[Otomai's Ark]] || 7x [[Almoken]]s |
|- |
|- |
||
| − | | [[File: |
+ | | [[File:Dragodino.png|60px]] || [[Dragodino|Wanted: Dragodino]] || [[Order|1st rank]] || [[Wild Dragoturkey Territory]] || 8x [[Almoken]]s |
|- |
|- |
||
| − | | [[File: |
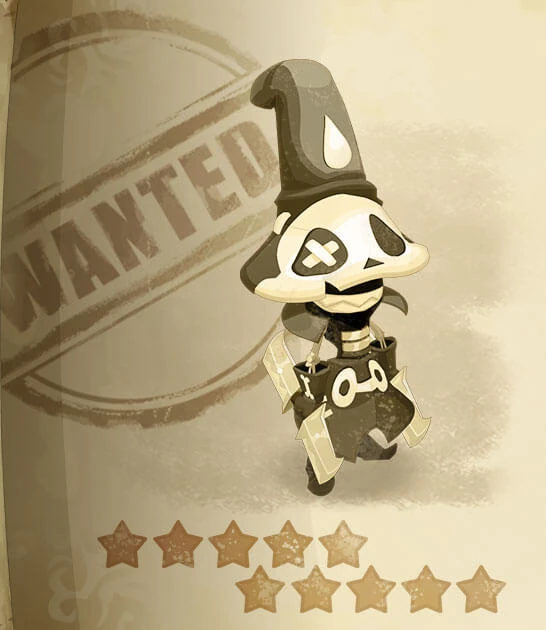
+ | | [[File:Degolas.png|60px]] || [[Degolas|Wanted: Degolas]] || [[Order|1st rank]] || [[Skull Path]] || [[Almoken]]s |
|- |
|- |
||
| − | | [[File: |
+ | | [[File:Prince_Sharmin.png|60px]] || [[Prince Sharmin|Wanted: Prince Sharmin]] || [[Order|2nd rank]] || [[Porco Territory]] || [[Almoken]]s |
|- |
|- |
||
| − | | [[File: |
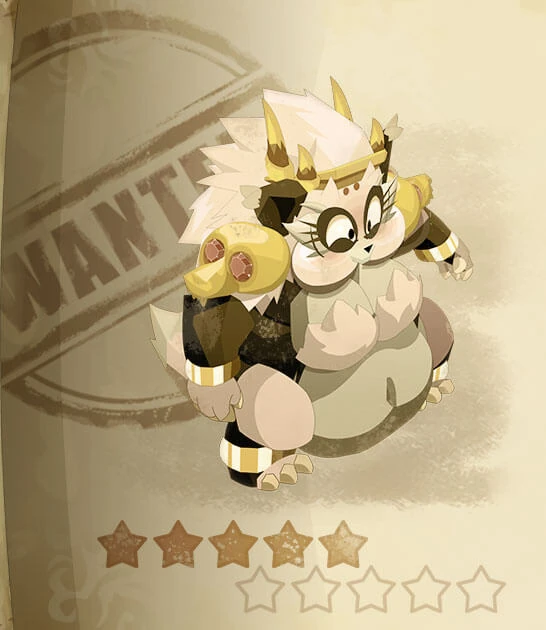
+ | | [[File:Lafinkowi.png|60px]] || [[Lafinkowi|Wanted: Lafinkowi]] || [[Order|2nd rank]] || [[Minotoror Island]] || [[Almoken]]s |
|- |
|- |
||
| − | | [[File: |
+ | | [[File:Peter_Dougherty.png|60px]] || [[Peter Dougherty|Wanted: Peter Dougherty]] || [[Order|2nd rank]] || [[Earth Pandala]] || [[Almoken]]s |
|- |
|- |
||
| − | | [[File: |
+ | | [[File:Gobrechaun.png|60px]] || [[Gobrechaun|Wanted: Gobrechaun]] || [[Order|2nd rank]] || [[Grassy Plains]] || [[Almoken]]s |
|- |
|- |
||
| − | | [[File: |
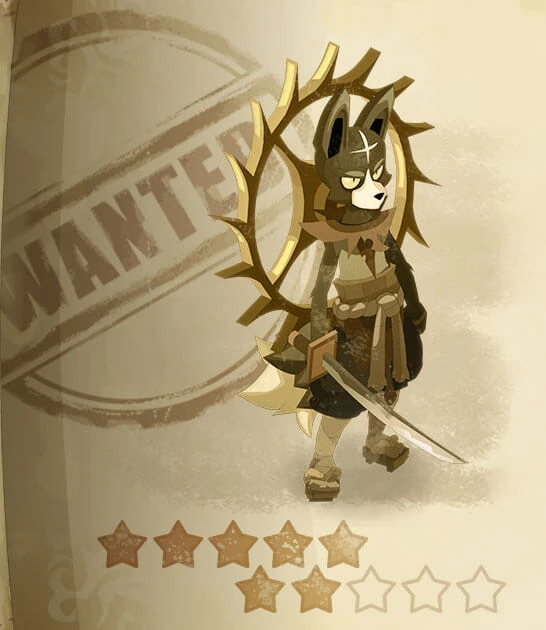
+ | | [[File:Darma.png|60px]] || [[Darma|Wanted: Darma]] || [[Order|3rd rank]] || [[Canopy Village]] || [[Almoken]]s |
|- |
|- |
||
| − | | [[File: |
+ | | [[File:Crassper.png|60px]] || [[Crassper|Wanted: Crassper]] || [[Order|3rd rank]] || [[Nolifis Island]] || [[Almoken]]s |
|- |
|- |
||
| − | | [[File: |
+ | | [[File:Moblibli.png|60px]] || [[Moblibli|Wanted: Moblibli]] || [[Order|3rd rank]] || [[Cania Moors]] || [[Almoken]]s |
|- |
|- |
||
| − | | [[File: |
+ | | [[File:Glandaf_the_Sour.png|60px]] || [[Glandaf the Sour|Wanted: Glandaf the Sour]] || [[Order|3rd rank]] || [[Tree Keeholo]] || [[Almoken]]s |
|- |
|- |
||
| − | | [[File: |
+ | | [[File:The_No-Face.png|60px]] || [[The No-Face|Wanted: The No-Face]] || [[Order|4th rank]] || [[Lost Dimension]] || [[Almoken]]s |
|- |
|- |
||
| − | | [[File: |
+ | | [[File:Carter_the_Pillager.png|60px]] || [[Carter the Pillager|Wanted: Carter the Pillager]] || [[Order|4th rank]] || [[Fungus Cavern]] || [[Almoken]]s |
|- |
|- |
||
| − | | [[File: |
+ | | [[File:Tomb_Wraither.png|60px]] || [[Tomb Wraither|Wanted: Tomb Wraither]] || [[Order|5th rank]] || [[Barracks of the Day Without End]] || [[Almoken]]s |
|} |
|} |
||
| Line 301: | Line 301: | ||
! Image !! Name |
! Image !! Name |
||
|- |
|- |
||
| − | | [[File: |
+ | | [[File:Bandits.jpg|60px]] || N/A |
|- |
|- |
||
| − | | [[File: |
+ | | [[File:Nervoes_Brakdoun.jpg|60px]] || [[Nervoes Brakdoun]] |
|- |
|- |
||
| − | | [[File: |
+ | | [[File:Lethaline_Sigisbul.png|60px]] || [[Lethaline Sigisbul]] |
|} |
|} |
||
==Notes== |
==Notes== |
||
; Doploon reward breakdown by level |
; Doploon reward breakdown by level |
||
| ⚫ | |||
{| {{prettytable}} |
{| {{prettytable}} |
||
| ⚫ | |||
| − | |- |
||
| − | | [[File:Lethaline Sigisbul.png|60px]] || [[Find Lethaline Sigisbul]] |
||
| − | |} |
||
| + | 480*1) |
||
| ⚫ | |||
| ⚫ | |||
| ⚫ | |||
| − | ! Required level !! Doploons |
||
| − | |- |
||
| − | | 1 || 120 (120*1) |
||
| − | |- |
||
| − | | 10 || 360 (180*2) |
||
| − | |- |
||
| − | | 20 || - |
||
| − | |- |
||
| − | | 30 || 300 (300*1) |
||
| − | |- |
||
| − | | 40 || 1080 (360*3) |
||
| − | |- |
||
| − | | 50 || 480 (480*1) |
||
|- |
|- |
||
| 60 || 2400 (600*4) |
| 60 || 2400 (600*4) |
||
| Line 337: | Line 319: | ||
| 70 || 1320 (660*2) |
| 70 || 1320 (660*2) |
||
|- |
|- |
||
| − | | 80 || |
+ | | 80 || 26|} |
| + | |||
| − | |- |
||
| ⚫ | |||
| − | | 90 || - |
||
| ⚫ | |||
| − | |- |
||
| ⚫ | |||
| − | | 100 || 2880 (960*3) |
||
| + | 080*6) |
||
| − | |- |
||
| − | | 110 || 6480 (1080*6) |
||
|- |
|- |
||
| 120 || 3600 (1200*3) |
| 120 || 3600 (1200*3) |
||
||} |
||} |
||
[[Category:Quest|*]] |
[[Category:Quest|*]] |
||
| − | [[Category:Bounty Quest]] |
+ | [[Category:Bounty Quest]]|} |
Revision as of 17:07, 19 November 2019
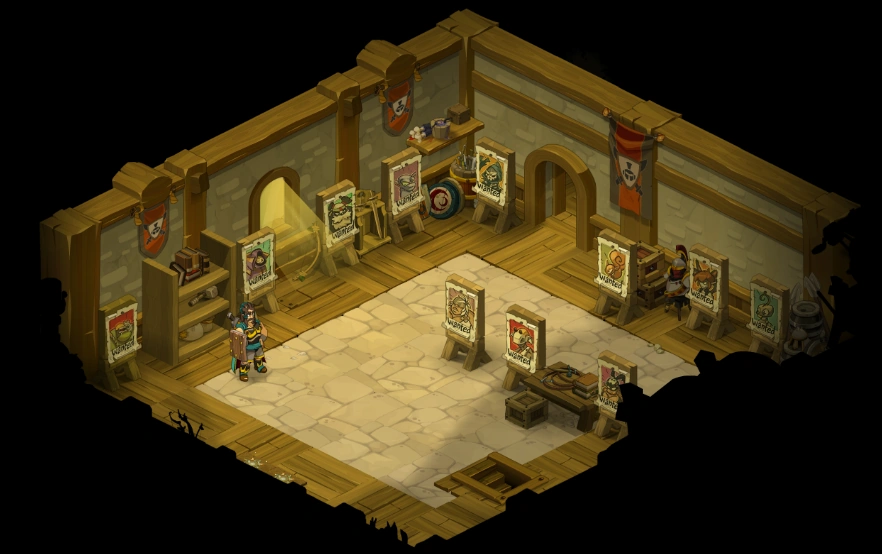 Astrub wanted posters, obtaining of Bounty Quests |
Bounty Quests are special quests in which the player must hunt down an outlaw and then hand them in for a reward (normally Doploons).
Players can start Bounty Quests by reading a wanted notice and clicking the link at the bottom of a poster, this will, if your level is high enough, add a new quest to your quest log. Wanted notices are found in most Militia's and other locations (Consult the lists below for precise locations).
Once you have the quest you must find the wanted monster, defeat it in battle, and turn it in to the NPC at the relevant location. If you find two or more bounties in a single mob group they will not all be captured, rather one will be captured even if it shows multiple in the loot window.
Wanted Monsters reappear without having to wait for a monster group to be defeated: as soon as they are available, they reappear in a group of monsters, and will take the place of an already existing group.
Wanted Monsters automatically reappear if they are defeated without being captured (if the associated quest is not ongoing, they are not added as followers and are therefore viewed as not captured).
Wanted Monsters are systematically viewed as group leaders and are always visible on the map without having to consult the entire composition of the group of monsters.
Wanted Monsters respawn after a partially random duration (the duration changes after each respawn, spanning from 50% to 150% of the current respawn time, which is around 6~16 hours).
Total Doploons currently obtainable from doing all Bounty Quests: 80340 (Click here for a breakdown)
Total Ice Kamas currently obtainable from doing all Frigost Island Bounty Quests: 64
Total Alitons currently obtainable from doing all Alignment Bounty Quests:
Astrub Bounty Quests
- Pick up in the Astrub City Militia at [5,-19].
- Return to Astrub Jail Guard in the Astrub City Militia at [5,-19], downstairs.
- Total Doploons: 6060
| Image | Name | Required level | Found in | Reward |
|---|---|---|---|---|
 |
Wanted: Akornaddikt the Squirrel | 1 | Astrub City | 120 Doploons |
 |
Wanted: Stellia Blutzell | 10 | Astrub Forest | 180 Doploons |
 |
Wanted: Ogivol Scalarcin | 30 | Brakmar City Walls | 300 Doploons |
 |
Wanted: Brumen Tinctorias | 40 | Desolation of Sidimote | 360 Doploons |
 |
Wanted: Marzwel the Goblin | 40 | Pandala Forest | 360 Doploons |
 |
Wanted: Qil Bil | 50 | Cemetery of the Tortured | 480 Doploons |
 |
Wanted: Aermyne 'Braco' Scalptaras | 60 | The Squirming Snapper Village | 600 Doploons |
 |
Wanted: Musha the Oni | 60 | Border of Akwadala | 600 Doploons |
 |
Wanted: Rok Gnorok | 70 | Border of Aerdala | 660 Doploons |
 |
Wanted: Nomarow Transplent | 110 | Eltneg Wood | 1080 Doploons |
 |
Wanted: Zatoishwan | 130 | Border of Feudala | 1320 Doploons |
Amakna Bounty Quests
- Pick up in the Amakna Castle Militia at [5,-6].
- Return to Maeve Lightdance in the Amakna Castle Militia at [5,-6], downstairs.
- Total Doploons: 15000
| Image | Name | Required level | Found in | Reward |
|---|---|---|---|---|
 |
Wanted: Tyranna the Terrible | 60 | Dark Forest | 600 Doploons |
 |
Wanted: Simbadas | 70 | Caravan Alley | 660 Doploons |
 |
Wanted: Carlita of Augerfeld | 80 | Howling Heights | 660 Doploons |
 |
Wanted: Naganita | 80 | Krismahlo Island | 660 Doploons |
 |
Wanted: Spykting | 80 | The Forbidden Jungle | 660 Doploons |
 |
Wanted: War T'Lillyput | 100 | Bottomless Peat Bog | 960 Doploons |
 |
Wanted: Mastigator | 110 | Putrid Peat Bog | 1080 Doploons |
 |
Wanted: Buddy Dubble | 120 | Cania Cirque | 1200 Doploons |
 |
Wanted: Anatak Goldisk | 140 | Stontusk Desert | 1440 Doploons |
 |
Wanted: The Shushu Ptidoop | 160 | Gisgoul | 1680 Doploons |
 |
Wanted: The Warrior of KOs | 160 | Mount Scauldron | 1680 Doploons |
 |
Wanted: Predagob | 170 | Nimaltopia | 1680 Doploons |
 |
Wanted: King Kongoku | 180 | Splash Zone | 2040 Doploons |
Vigilante Base Bounty Quests
- To access Vigilante Base, you must have completed the quest Protect and Scourge.
- Pick up in the Vigilante Base at [4,4].
- Return to Cold Turnkey in the Vigilante Base at [4,4].
- Total Doploons: 3780
| Image | Name | Required level | Region | Bounty |
|---|---|---|---|---|
 |
Wanted: Veg Men | 10 | Ingalsses' Fields | 180 Doploons |
 |
Wanted: Dumsh | 40 | Bottomless Swamps | 360 Doploons |
 |
Wanted: Poison Amy | 120 | Dark Jungle | 1200 Doploons |
 |
Wanted: Scampihorse | 180 | Abyss Rooms | 2040 Doploons |
Ohwymi Bounty Quests
- Pick up in the Sarakech Port Inn at [15,-57].
- Return to Talky Walker in the Sarakech Port Militia at [15,-56].
- Total Doploons: 5280
| Image | Name | Required level | Region | Bounty |
|---|---|---|---|---|
 |
Wanted: Turnado | 60 | Dunes of Bones | 600 Doploons |
 |
Wanted: Kwa Kamolay | 110 | Castuc Territory | 1080 Doploons |
 |
Wanted: Peb'Houlud | 150 | Gorge of Howling Winds | 1560 Doploons |
 |
Wanted: The Khepricorn | 180 | Cursed Pyramid | 2040 Doploons |
Abyss Bounty Quests
- Pick up in Submerged City at [23,26].
- Return to Walter Worde in Submerged City at [23,26].
- Total Doploons: 6120
| Image | Name | Required level | Region | Bounty |
|---|---|---|---|---|
 |
Wanted: Bubldalazred | 180 | Castuc Territory | 2040 Doploons |
 |
Wanted: Homer Medali | 180 | Gorge of Howling Winds | 2040 Doploons |
 |
Wanted: Takomako | 180 | Dunes of Bones | 2040 Doploons |
Divine Dimensions Bounty Quests
Ecaflipus Bounty Quests
- Pick up in Elevation Stones at [-1,-6].
- Return to Colonel's Krosmoglob in the Dimensional Voyagers' Tower at [-22,-24].
- Total Doploons:
| Image | Name | Required level | Found in | Reward |
|---|---|---|---|---|
 |
Wanted: Atcham | 180 | Kerub Temple | 2040 Doploons |
Enurado Bounty Quests
- Pick up in Crucible of Fortunes at [-1,-1].
- Return to Colonel's Krosmoglob in the Dimensional Voyagers' Tower at [-22,-24].
- Total Doploons: 4080
| Image | Name | Required level | Found in | Reward |
|---|---|---|---|---|
 |
Wanted: Beeteloot | 80 | Crucible of Fortunes | 720 Doploons |
 |
Wanted: Sourfax | 130 | Auriferous Quarry | 1320 Doploons |
 |
Wanted: Voldelor | 180 | Eternal Rest | 2040 Doploons |
Srambad Bounty Quests
- Pick up in Shrouded Canals at [2,2].
- Return to Colonel's Krosmoglob in the Dimensional Voyagers' Tower at [-22,-24].
- Total Doploons: 4800
| Image | Name | Required level | Found in | Reward |
|---|---|---|---|---|
 |
Wanted: Panthyrozy | 110 | Shrouded Canals | 1080 Doploons |
 |
Wanted: Replicaphid | 160 | Catacumbras | 1680 Doploons |
 |
Wanted: Gein | 180 | Shadowy Heights | 2040 Doploons |
Xelorium Bounty Quests
- Pick up in Gonebyways at [1,6].
- Return to Colonel's Krosmoglob in the Dimensional Voyagers' Tower at [-22,-24].
- Total Doploons: 4560
| Image | Name | Required level | Found in | Reward |
|---|---|---|---|---|
 |
Wanted: Morblok | 100 | Gonebyways | 960 Doploons |
 |
Wanted: Wun | 150 | Present Day | 1560 Doploons |
 |
Wanted: Storclout | 180 | Uncertain Future | 2040 Doploons |
Frigost Island Bounty Quests
Total Doploons: 28620 Total Ice Kamas: 64
Frigost Village Bounty Quests
- Pick up in the Frigost Village Militia at [-76,-42].
- Return to Peter S. Hilton in the Frigost Village Militia at [-76,-42].
- Total Doploons: 9420
- Total Ice Kamas: 18
| Image | Name | Required level | Found in | Reward |
|---|---|---|---|---|
 |
Wanted: Mastoslob | 100 | Icefields | 960 Doploons, 2 Ice Kamas |
 |
Wanted: Mister Penguin | 110 | Frozen Lake | 1080 Doploons, 1 Ice Kamas |
 |
Wanted: Katigger | 120 | Lonesome Pine Trails | 1200 Doploons, 2 Ice Kamas |
 |
Wanted: Pirate Bhey | 130 | Alma's Cradle | 1320 Doploons, 3 Ice Kamas |
 |
Wanted: The Masked Avenger | 140 | Tears of Ouronigride | 1440 Doploons, 3 Ice Kamas |
 |
Wanted: The Yech'ti | 150 | Asparah Gorge | 1560 Doploons, 3 Ice Kamas |
 |
Wanted: Doctor Gobotnegg | 170 | Snowy Forest | 1860 Doploons, 4 Ice Kamas |
Snowbound Village Bounty Quests
- To be able to pick up the wanted quests, you must have started the quest Pocket Money.
- Pick up in the Snowbound Village Militia at [-75,-74].
- Return to Baka Laive in the Snowbound Village Militia at [-75,-74].
- Total Doploons: 6960
- Total Ice Kamas: 16
| Image | Name | Required level | Found in | Reward |
|---|---|---|---|---|
 |
Wanted: Fuji Snowfoux | 150 | Snowfoux Caverns | 1560 Doploons, 4 Ice Kamas |
 |
Wanted: Dremoan | 160 | Petrified Forest | 1680 Doploons, 4 Ice Kamas |
 |
Wanted: Flasho | 170 | Fangs of Glass | 1860 Doploons, 4 Ice Kamas |
 |
Wanted: Vinnie the Bearbarian | 170 | Bearbarian Hive | 1860 Doploons, 4 Ice Kamas |
Frigost 3 Bounty Quests
- To be able to pick up the wanted quests, you must have started the quest The Whitewalkers.
- Pick up in the Entrance to Harebourg's Castle Militia at [-68,-76].
- Return to Wes of Tubsterville in the Entrance to Harebourg's Castle at [-68,-76].
- Total Doploons: 12240
- Total Ice Kamas: 30
| Image | Name | Required level | Found in | Reward |
|---|---|---|---|---|
 |
Wanted: Bearendizer | 180 | Winter Gardens | 2040 Doploons, 5 Ice Kamas |
 |
Wanted: Count Harebourg | 180 | Water Clock Tower | 2040 Doploons, 5 Ice Kamas |
 |
Wanted: Erotegg | 180 | Water Clock Tower | 2040 Doploons, 5 Ice Kamas |
 |
Wanted: Mekstagob | 180 | Windblast Barricade | 2040 Doploons, 5 Ice Kamas |
 |
Wanted: Psychopump | 180 | Scarlet Tannery | 2040 Doploons, 5 Ice Kamas |
 |
Wanted: The Ice Knight | 180 | Bleak Legion Bastion | 2040 Doploons, 5 Ice Kamas |
Alignment Bounty Quests
- Generally there is a requirement bound to your alignment and order
- Pick up in the Bonta Militia at [-33,-56] or Brakmar Militia at [-26,36].
- Return to Fairy Valentine in the Bonta Militia at [-33,-56] or [[]] in the Brakmar Militia at [-26,36].
- Total Almokens:


| Image | Name |
|---|---|
| File:Bandits.jpg | N/A |
| File:Nervoes Brakdoun.jpg | Nervoes Brakdoun |
 |
Lethaline Sigisbul |
Notes
- Doploon reward breakdown by level
d Nervoes Brakdoun]]
480*1)| 60 | 2400 (600*4) | |||
| 70 | 1320 (660*2) | |||
| 80 | }
Notes
|